
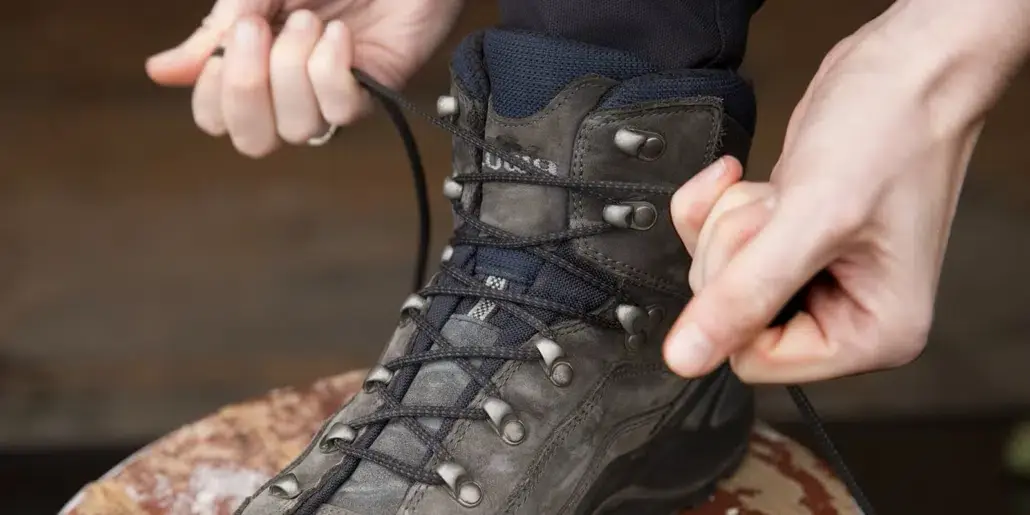
Πως να δένεις τις μπότες σου
Οι περισσότεροι από εμάς μαθαίνουμε το δέσιμο των παπουτσιών μας στο δημοτικό και δεν δίνουμε ιδιαίτερη προσοχή στα κορδόνια μας μετά από αυτό. Ωστόσο, εάν οι μπότες σου αρχίσουν να σε χτυπούν σε διαφορετικά σημεία, εδώ θα μάθεις 3 νέους τρόπους δεσίματος που μπορούν να σε βοηθήσουν να βελτιώσεις την άνεσή σου:
- Δέσιμο “Χειρουργού”: απλό και ευέλικτο, εμποδίζει τη φτέρνα σου να γλιστρήσει μπροστά
- Δέσιμο “Παράθυρο”: μειώνει τα σημεία πίεσης στο πάνω μέρος του ποδιού σου
- Δέσιμο “Δαχτυλο-ανακουφιστικό”: μια λύση που θ’ αλλάξει την άποψη σου για το περπάτημα
Είναι σημαντικό να σημειωθεί ότι οι τεχνικές δεσίματος που περιγράφονται εδώ δεν υποκαθιστούν τη σωστή εφαρμογή της μπότας στο πόδι σου. Γι αυτό χρειάζεται να συμβουλεύεσαι κάθε φορά έναν ειδικό στο κατάστημα που ψωνίζεις. Δες και το σχετικό βίντεο εδώ!
Δέσιμο “Χειρουργού”
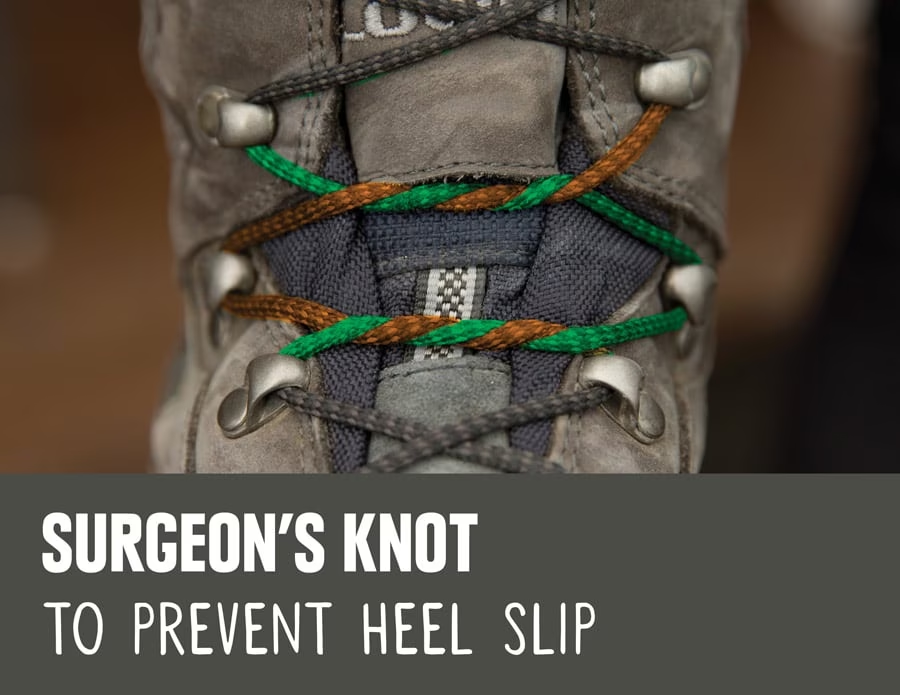
Όταν η φτέρνα σου γλιστράει υπερβολικά καθώς κάνεις πεζοπορία, πιθανότατα έχεις πολύ χαλαρό το δέσιμο της μπότας σου ψηλά. Σφίξε την μπότα σου και κράτησε την στη θέση της με δύο κόμπους χειρουργού: εφόσον τους δέσεις σωστά, μένουν σταθερά στο σημείο που έχουν δεθεί και δεν θα χαλαρώσουν μόνοι τους.
- Σφίξε τη μπότα στο πάνω μέρος του ποδιού σου- μην το παρακάνεις!
- Εντόπισε τους δύο γάντζους κοντά στο σημείο όπου το πάνω μέρος του ποδιού σου αρχίζει να κάμπτεται προς τα εμπρός. Κάνε τον κόμπο του Χειρουργού σε κάθε ζευγάρι γάντζων.
- Τύλιξε τα κορδόνια το ένα γύρω από το άλλο δύο φορές και στη συνέχεια τράβηξε τα σφιχτά. Φρόντισε να περάσεις τα κορδόνια μέχρι το επόμενο ζεύγος γάντζων για να «κλειδώσεις» την τάση του κόμπου.
- Επανέλαβε το Βήμα 3 στο επόμενο υψηλότερο ζεύγος γάντζων.
- Ολοκλήρωσε το δέσιμο της υπόλοιπης μπότας σου με τον συνηθισμένο σου τρόπο.
Δέσιμο “Παράθυρο”

Εάν οι καλά δεμένες μπότες σου αρχίζουν να δημιουργούν ένα σημείο πίεσης στο κουτουπιέ σου, το δέσιμο Παράθυρο μπορεί να βοηθήσει στην ανακούφιση του προβλήματος:
- Βγάλε τα κορδόνια μέχρι τα άγκιστρα που βρίσκονται ακριβώς κάτω από το σημείο πίεσης.
- Ξαναδέσε ανεβαίνοντας κατευθείαν στον επόμενο γάντζο και μετά σταυρώνοντας τα κορδόνια από πάνω.
- Ολοκλήρωσε το δέσιμο της υπόλοιπης μπότας σου με τον συνηθισμένο σου τρόπο. Εναλλακτικά, μπορείς να δέσεις τον κόμπο Χειρούργου στο κάτω και πάνω άκρο του παραθύρου σου για να μην χαλαρώσουν τα σημεία δεσίματος.
Δάχτυλο-ανακουφιστικό δέσιμο

Εάν τα δάχτυλα των ποδιών σου υποφέρουν σε κάθε πορεία αυτό το δέσιμο θα ανακουφίσει την πίεση στην περιοχή των δακτύλων:
- Βγάλε τελείως τα κορδόνια απ΄τη μπότα σου
- Τοποθέτησε τα πίσω – αλλά παράλειψε το πρώτο σετ αγκιστριών. Αυτό χαλαρώνει και αφαιρεί πίεση απ’ την περιοχή των δακτύλων.
Εάν παρ’ όλα αυτά, τα δάχτυλα των ποδιών σου πονάνε πάντα όταν κάνετε πεζοπορία, μάλλον έχει έρθει η ώρα να πάρεις ένα άλλο ζευγάρι μπότες. Ένας ειδικός σε ορειβατικές μπότες μπορεί να σε βοηθήσει να βρεις τα κατάλληλα για εσένα παπούτσια.
Κορδόνια για μπότες
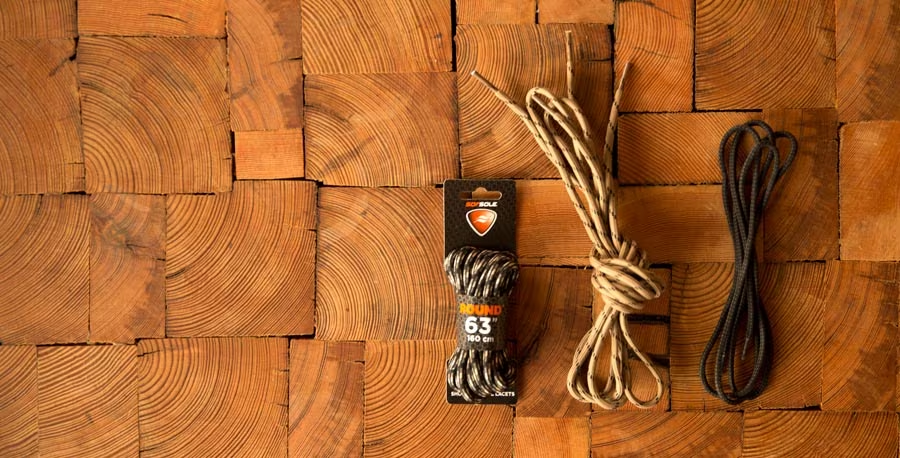
Οι περισσότερες μπότες έρχονται με μακριά κορδόνια που επιτρέπουν διαφορετικές τεχνικές, επομένως θα πρέπει να μπορείς να κάνεις οποιοδήποτε από αυτά τα δεσίματα χρησιμοποιώντας τα κορδόνια που έχουν ήδη οι μπότες σου.
Εάν τα κορδόνια σου έχουν φθαρεί, φρόντισε να τα αντικαταστήσεις με αυτά που ταιριάζουν τόσο με το σχήμα (στρογγυλό, οβάλ ή επίπεδο) όσο και με το μήκος του προηγούμενου ζευγαριού σου.